VRtexShaderArt: Vertex Shaders in VR
Martino Trapanotto / April 2025 (2415 Words, 14 Minutes)
An old idea was to port various vertex shaders for the incredible vertexshaderart.com to VR, parsing the WebGL code into usable GLSL and visualizing them in 3D. Wasn’t as easy as I hoped (again!), between:
- understanding the environment these shaders run in
- their structures and code
- translating the WebGL
- testing them
- sadly reaching a not so exciting result
but let’s start from the beginning:
Shader art
Some might have already heard about ShaderToy, the popular website where users can create simple fragment shaders to render in their browsers, accessing inputs such as audio, mouse and more. Many tutorials reference it, and it’s often used to showcase materials, ideas and effects, especially by creators and gurus, such as Inigo Quilez.
It’s a fun website to see new and intriguing effects and learn some graphics programming, but it focuses only on fragment shaders. As in any similar case, when faced with limitations users like bending and pushing these systems to their limits, but the limitations of this step of the graphics pipeline can’t be fully overcome. The shaders here all create only a 2D image.
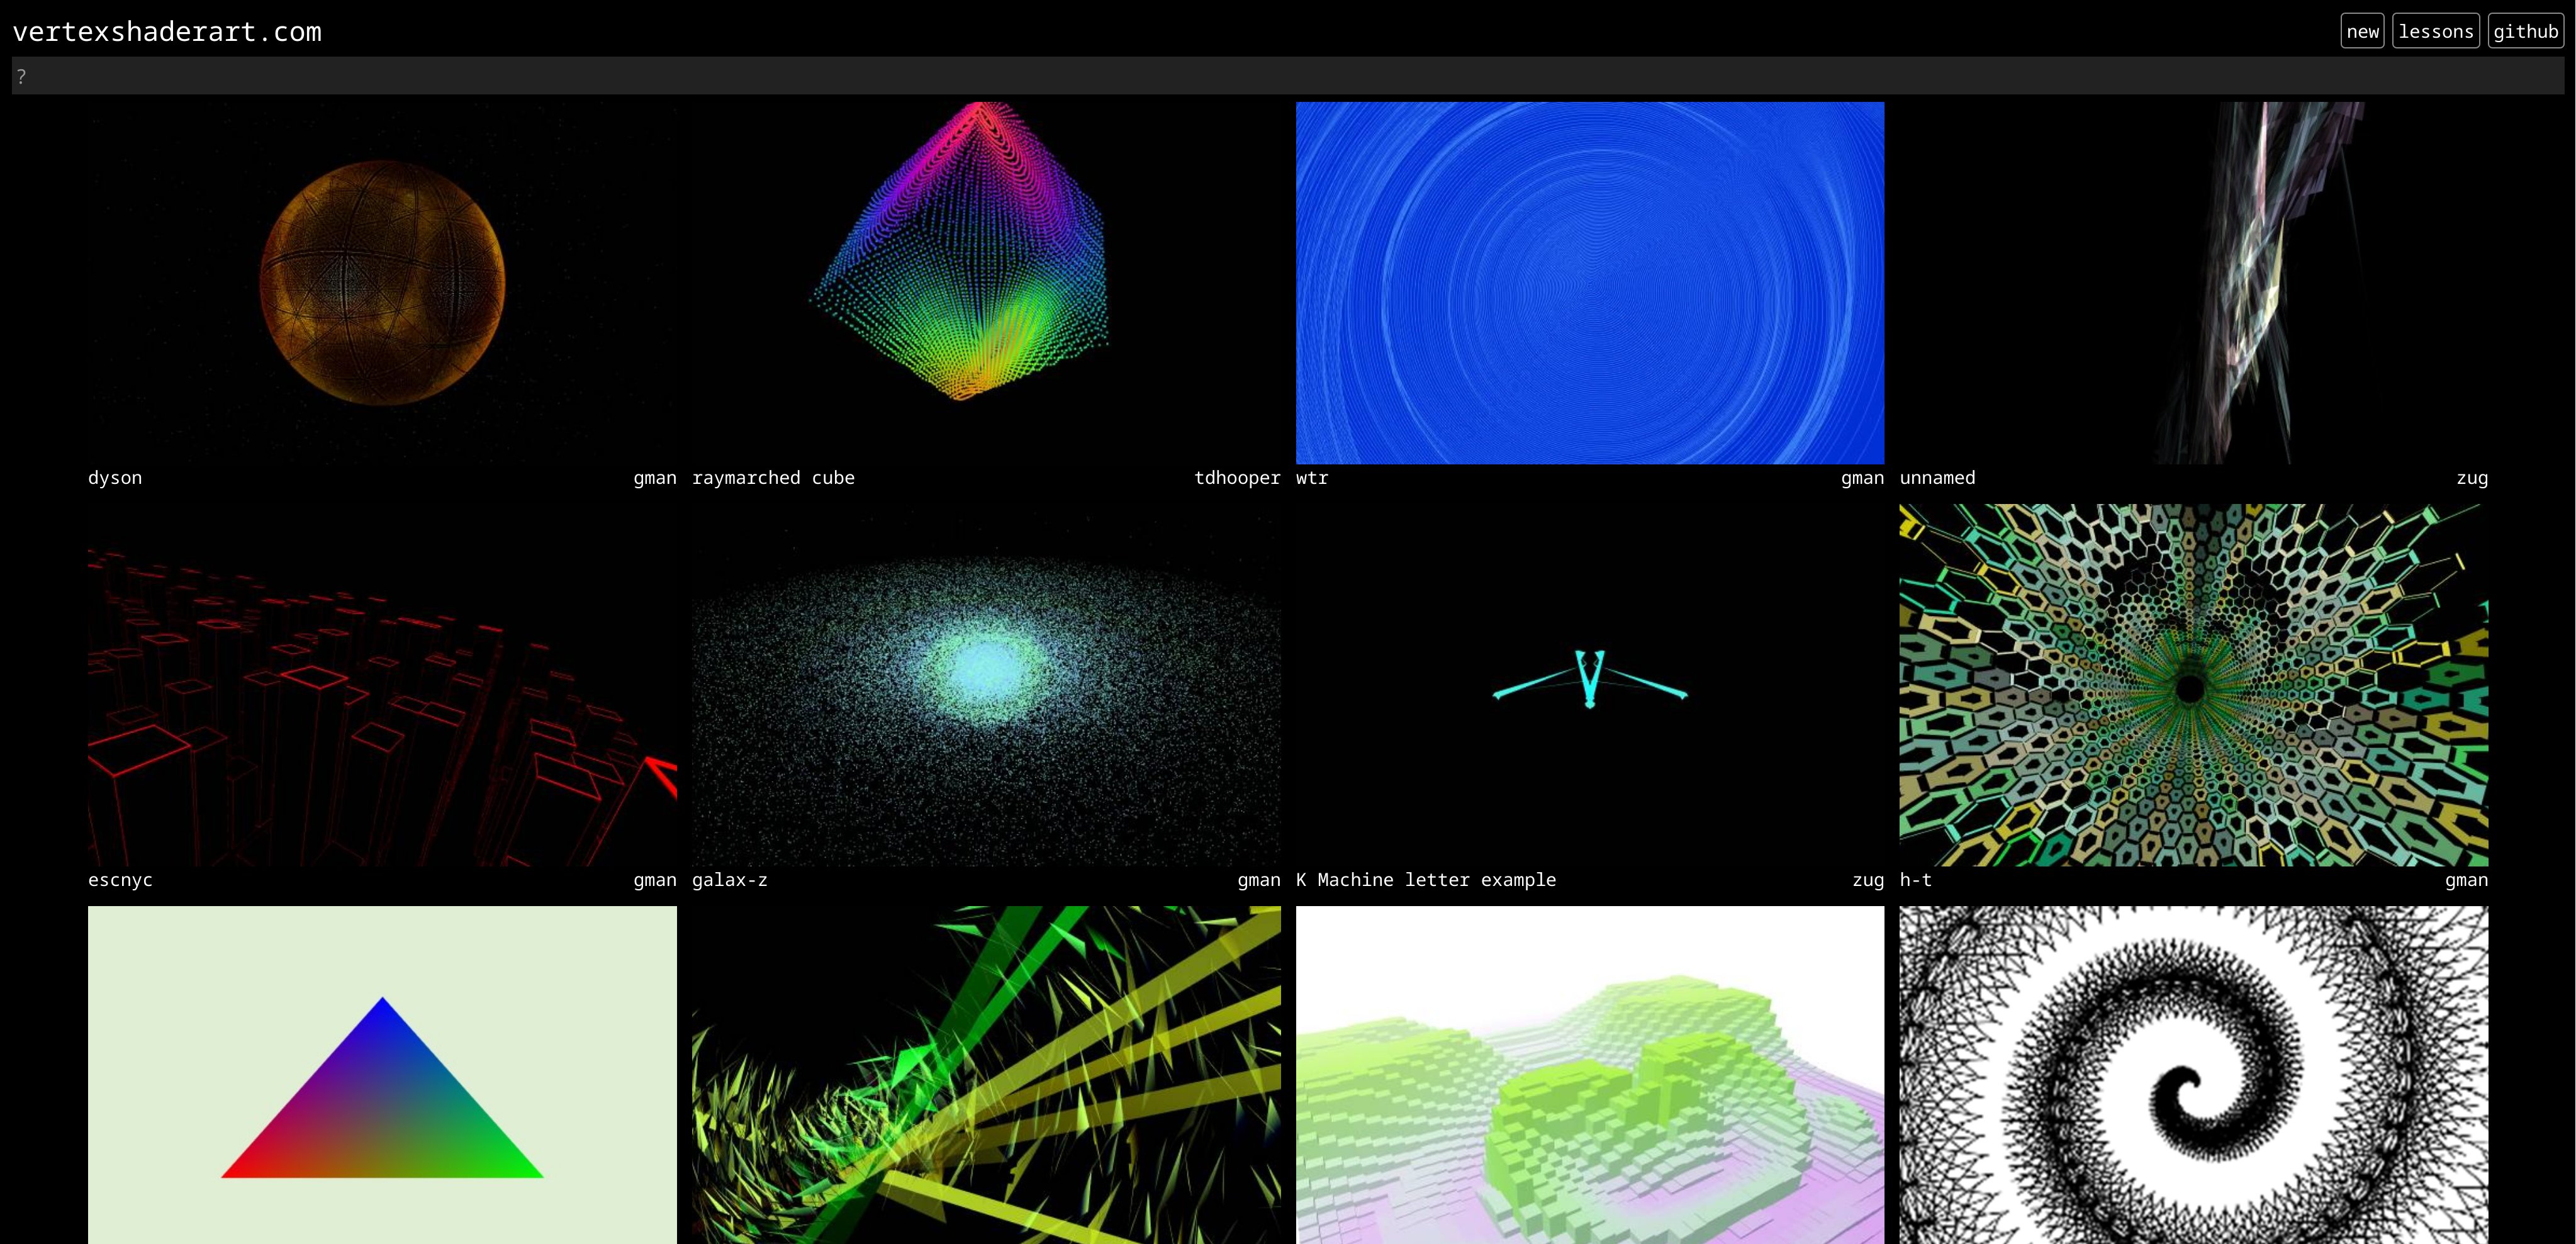
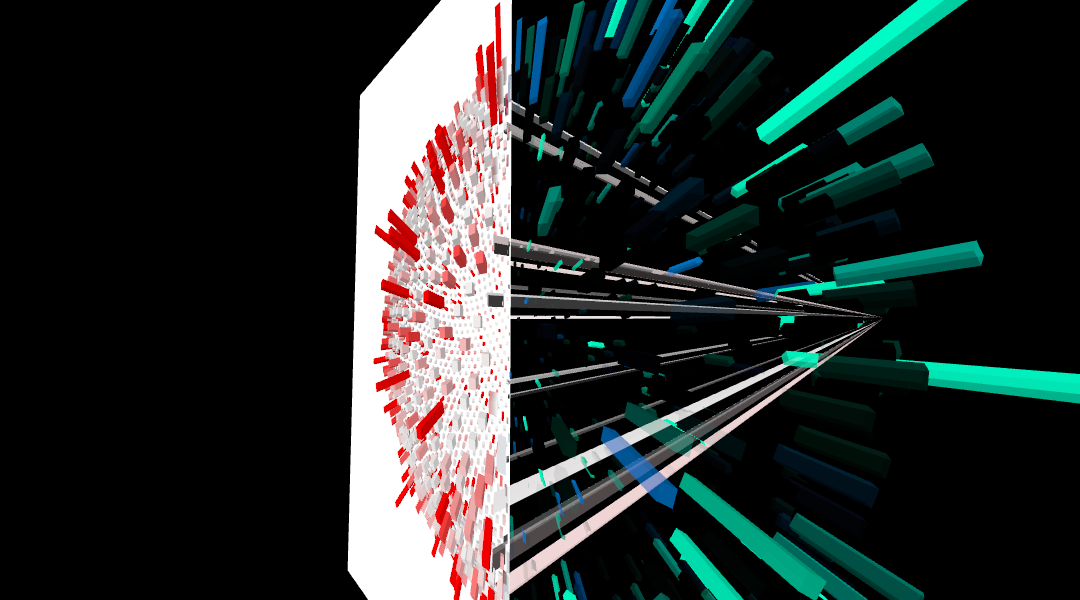
Instead, we can turn to https://www.vertexshaderart.com/ for salvation. Created by Greggman, the website has a similar purpose, giving users control on the vertex section of the shading pipeline, so they can manipulate the location, connection and color of vertices, instead of pixels. They still can access external data such as mouse location and audio sources. Ans when I saw the cool stuff poeople created here, I wanted to see it in VR up close.
Quick recap of shader pipelines
For the uninitiated, the shading pipeline is the process through which modern 3D graphics are created by GPUs from 3D model data and other information. This is broken in a sequence of steps, each processing the data in some way until it ultimately becomes a pixel color on the screen.
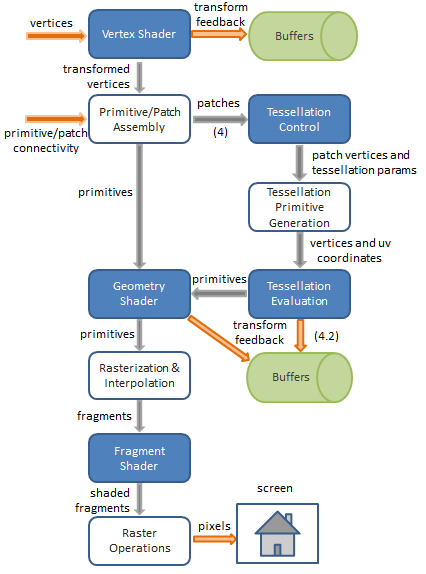
While modern pipelines like the one presented here are quite long and complex, the two main steps are Vertex Shading and Fragment Shading
Vertex Shading processed 3D vertices, loading the 3D model data as a source. Its key role is transforming the vertices to their location in global 3D coordinates and then their location on the screen view. They can also compute a lot of important information, such as distances relative to objects or entities, normals, angles and directions to light sources, and additional effects that influences or is based on a model’s shape, size and more.
Fragment Shaders compute instead the resulting color of a pixel in the image, taking in the results of the previous stages. These shaders are key to basically any visual effect and colored pixel in a game, reading texture data and materials, surface properties, lights, special effects, outlines, reflections and so on.
As such, creating cool visuals with Fragment shaders is a bit easier, as the output is directly visual, and even simple effects can look cool. Meanwhile, Vertex shaders are a bit more subtle and can be tricky to make into cool effects, but have access to not just 2D information but the whole 3D space.
Moving to VR
Porting shaders like these to VR is not exactly a trivial matter, even though I once again started this project convinced it would be a quick and easy one.
There are two main ingredients to make this work:
- The shader itself
- The shading environment
The shader is the code itself, which already is problematic, as it’s all in WebGL 1, which differs quite a bit from the OpenGL 4 LOVR uses, and has some oddities in itself we’ll discuss later.
The shading environment refers to the various variables, data points, conditions and more needed for the shader to run as expected. Shaders are odd and have a lot of unique idiosyncrasies, and here I want to move code designed for a web environment to a custom desktop VR environment, so some work is clearly due.
WebGL VS OpenGL
WebGL was one of the various iterations at turning browsers into all powerful virtual machines so that websites can finally be fast while executing megabytes of code to render buttons, by leveraging the power of the GPU. It is now surpassed by the WebGPU standard, and had two versions, 1 and 2.
WebGL 1 is our focus: it’s a set of JavaScript APIs to access the GPU and execute shaders. These are written in a derivative of OpenGL ES 2, the second version of the OpenGL dialect for Embedded Systems. This is in turn based on OpenGL 1.2. The resulting language is a bit old, many built-in functions are completely missing, as are a lot of advanced features like compute, geometry and tessellation shaders.
LOVR instead is built with OpenGL 4.6 as of 0.17.1, and has a custom entry point and some special needs for its shaders (although it’s supposed to support raw shaders in future releases).
For a while I tried looking for a more systematic solution, reading about ASTs, code generation, looking into the Vulkan Tools by Khronos and reading ancient blog posts and projects aiming at moving code back and forth between OpenGL and WebGL versions, but, as the JavaScript crowd figured out years ago, there is a much simpler, although technically insufficient way: RegEx.
Yes, you might have heard online or at a Compiler Theory lecture that RegEx is not sufficient to fully parse a programming language, due to fundamentally lacking the needed complexity. All true, but that’s if you want to make a good parser. Here, we aim for barely acceptable.
In practice, we have a closed set of targets. We don’t have to cover every possible shader, only the ones that are available on the website, and those, in turn, are all available on GitHub. So I started some “Test Driven Development”.
WebGL to OpenGL
I decided that this would be easier to do in Python, as I’m less familiar with Lua’s text processing and I could integrate the testing and the processing steps.
This is a subpar design, as it means decoupling needed later and porting the code to Lua in the future, but it’s slightly faster for a first prototype (and lazier).
...
def main():
...
    # Combine Shader folders into a list
    shaders_folder = Path(<REDACTED>)
    shaders = [x for x in shaders_folder.iterdir() if x.is_dir()]
...
    test_idxs = generate_test_ids(parser, shaders)
...

    for index in test_idxs:
        # read from Posix path
        shader_data = json.loads((shaders[index] / "art.json").read_bytes() )
        shader_code = shader_data["settings"]["shader"]
        ...
        print(f"{index =}")
        print(f"PATH: {(shaders[index] / "art.json")}")
        ...
        # For debugging
        with open("in.vert", "w") as file_writer:
            file_writer.writelines(shader_code)
        cleaned_shader_code = clean_shader_code(shader_code)

        counters = test_shader(counters, cleaned_shader_code, index,
        timeout = testing_mode, shader_data=shader_data)
    print(counters)
Now we can iterate and check what errors are stopping us. After a few iterations, we find out that we need to do a few things:
- remove function implementations that are by default missing in WebGL and that conflict when loaded in OpenGL, like
transposeorinverse - rename all
#DEFINEs andstructsas the names might collide with the ones already in use by LOVR or in the OpenGL defaults - remap texture access to LOVR’s
getPixelhelper function - remove
uniform,varyingandattribute, as these are not used anymore in 4.6 - rename the main function to
lovrmain - ensure the main returns the vertex position, as needed by LOVR
Not too bad really, and only a few strugglers remain in the end, around 30 of the 2390 shaders. Some are just completely broken, but the less strict WebGL parser just pushes through and returns a black screen, while OpenGL prefers to stop you beforehand.
Shader context
The shader needs some context, mostly some input variables, vertices to manipulate, and a fragment shader part.
The fragment shader was quite easy to adapt from the one in shaders.js, so that it just outputs the colors created at the vertex stage.
The vertices were quite easy too, LOVR has access to relatively low level objects including creating sets of vertices and controlling how they’re connected, so:
local indexCount = 18000
    pass:send("vertexCount", indexCount);
    --- This selects the TRIANGLES, LINES and POINTS mode
    pass:setMeshMode("triangles")
    --- Allows for arbitrary number of vertices with minimal work
    local buffer = lovr.graphics.getBuffer(indexCount, "vec3")
    pass:mesh(buffer)
Shader inputs
A basic overview of these values can be discerned by reading the documentation for writing shaders, but fully reimplementing these needs details that are hidden in shaders.js.
The complete set of WebGL inputs is:
attribute float vertexId;

uniform vec2 mouse;
uniform vec2 resolution;
uniform vec4 background;
uniform float time;
uniform float vertexCount;
uniform sampler2D volume;
uniform sampler2D sound;
uniform sampler2D floatSound;
uniform sampler2D touch;
uniform vec2 soundRes;
uniform float _dontUseDirectly_pointSize;

varying vec4 v_color;
These can be split by type:
- The
vecs andfloats are values passed to the shader, and are mostly self-explanatory - The
sampler2Ds are textures that are created and managed by the CPU, and supplied to the GPU, and require a bit more work
The values encompass information like the position of the mouse pointer, the time in seconds, the number of vertices to be drawn, the background color and so on. soundRes indicates the resolution of one of the textures.
I’m not supplying anything for the mouse, and everything else is easy enough.
The textures are a more complex, as these encode mostly data about the sounds samples passed to the shaders. touch is for mobile devices, so I ignore it entirely.
Shaders are able to react to sounds, such as music or the user’s microphone, and the audio is processed to create:
volume, which stores a small buffer of intensity valuessound, which stores a rolling spectrogram of the audio being played, normalized 0-1floatSound, which stores similar values but as floats, I think as decibel values
Funnily, only the sound texture is used commonly, all others are extremely rare:
sound: 1141, touch: 32, volume: 15, float: 14
Creating an ugly spectrogram is not too hard in Lua, although it’s not very efficient. More work was needed to correctly map to what the shader expects, as that’s directly provided by the user’s browser via getFloatFrequencyData() and getByteFrequencyData(), making it much harder to reverse engineer in detail.
I hacked at it by visualizing it as a texture in both versions, comparing them visually until they looked right, then did some tests with a frequency sweep while reading the raw values from the JavaScript code.
The outputs are not stellar, both in the FFT implementation and the finer details of the data, and I didn’t focus much on volume and floatSound.
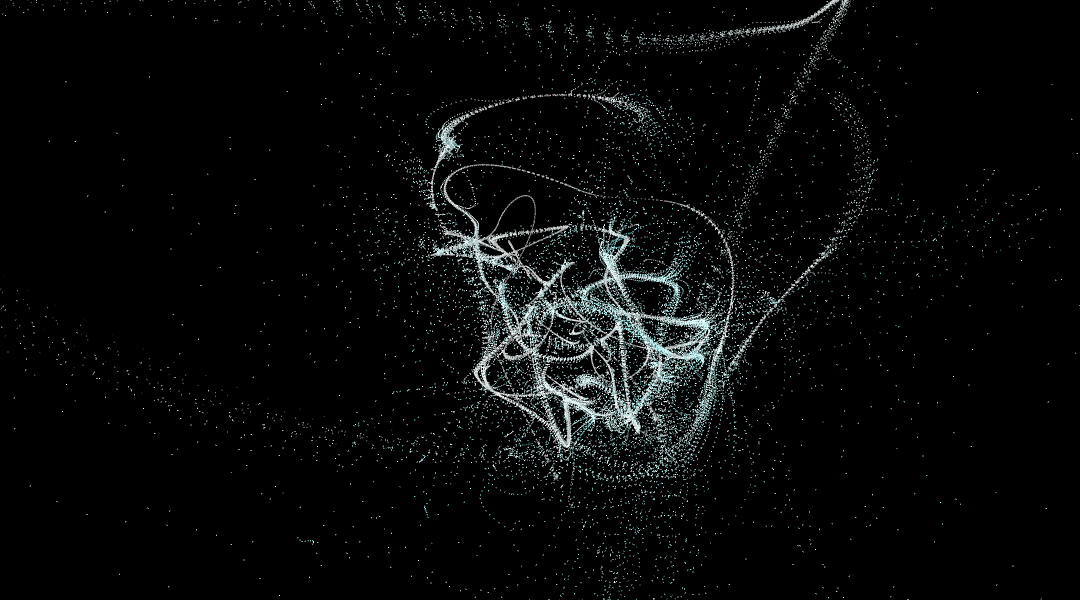
Results
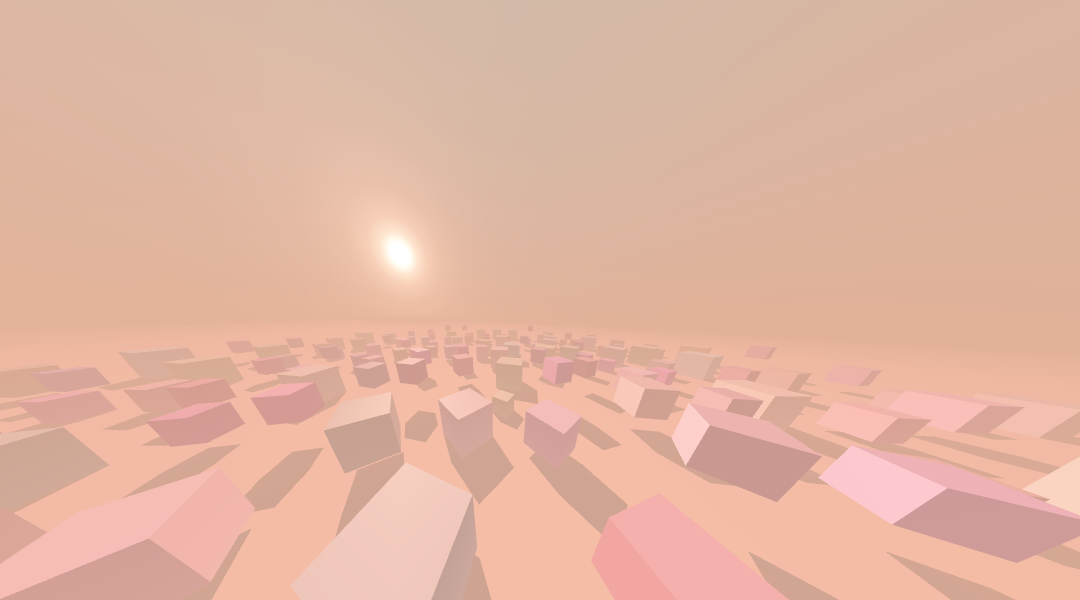
Combining it all together, almost all shaders run, with only 40 out of over 2200 still crashing, and a good chunk of these being experiments that never worked anyway (I checked).
But that’s not as great as it sounds, because
the shaders are lying:
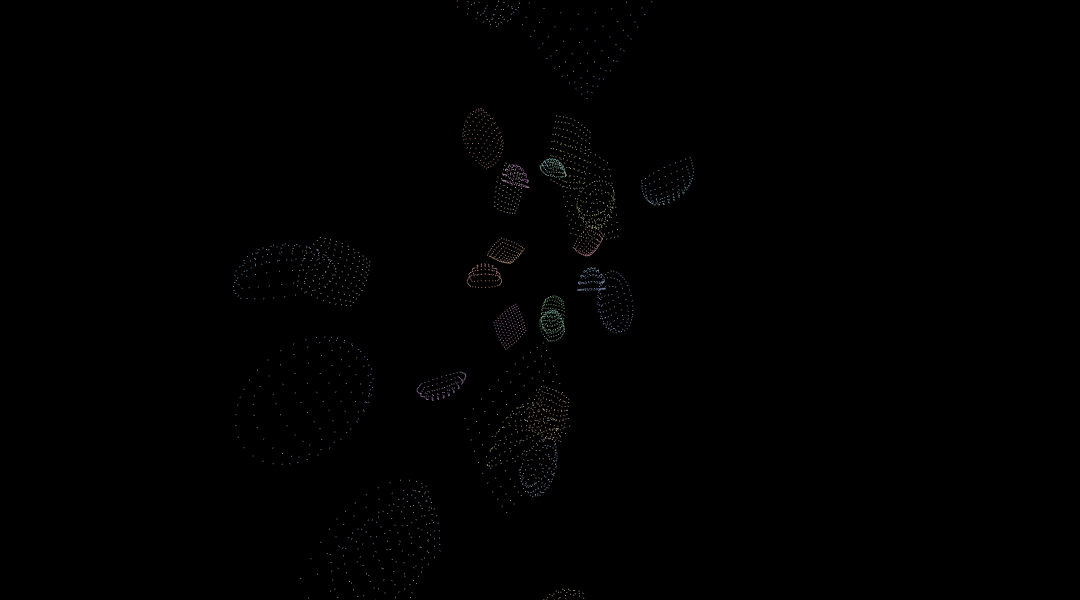

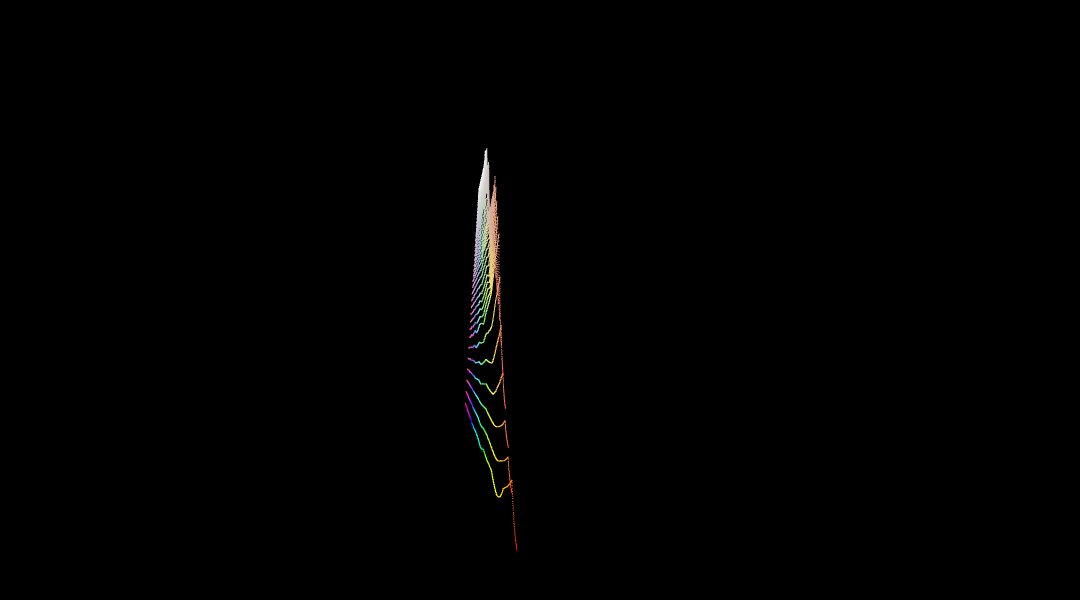
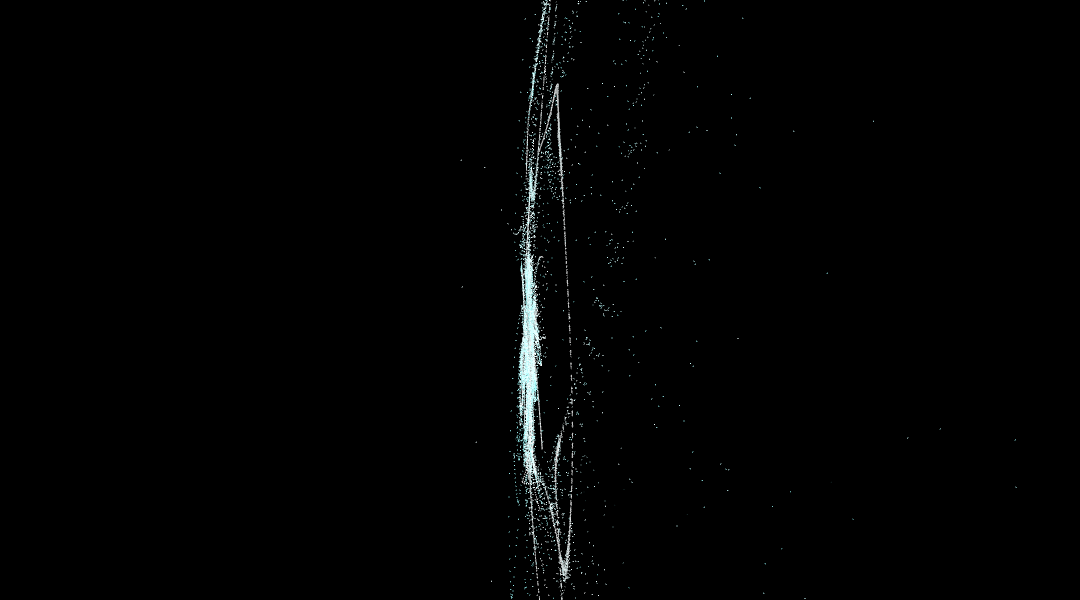
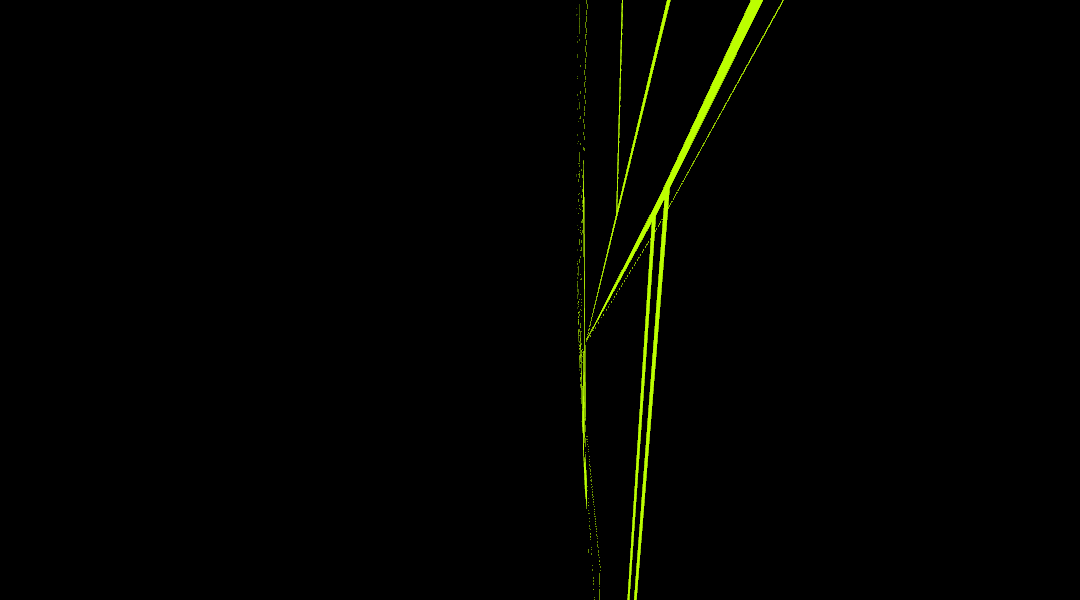
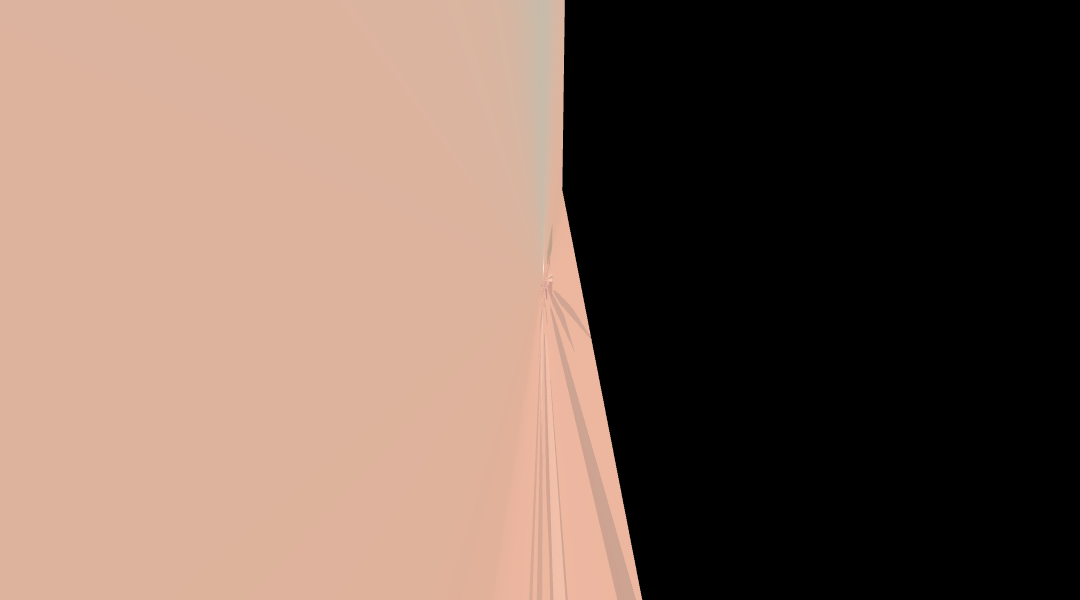

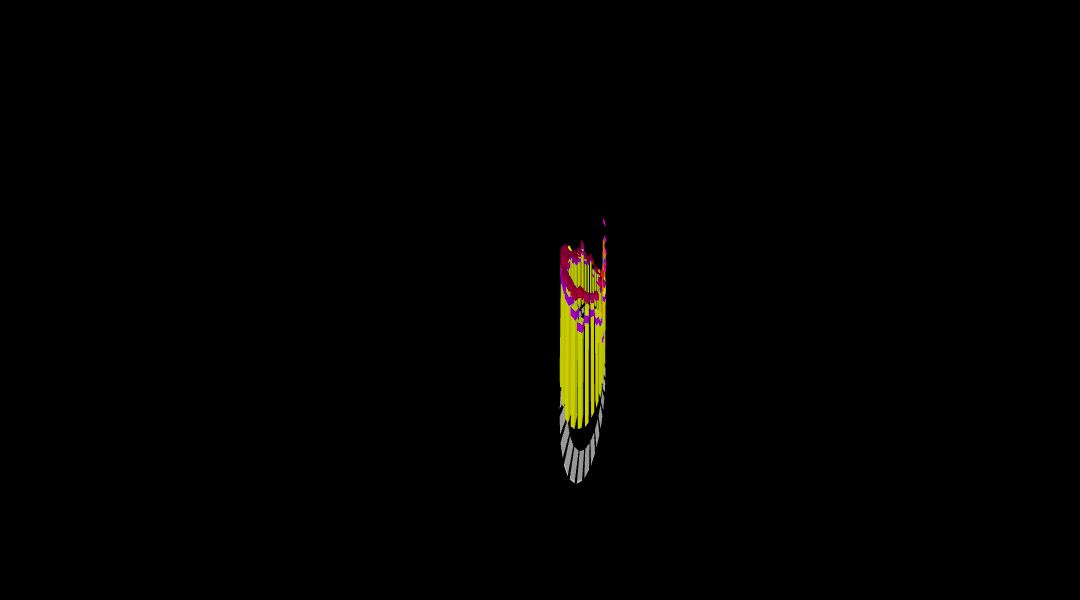
Almost all of them are like this.
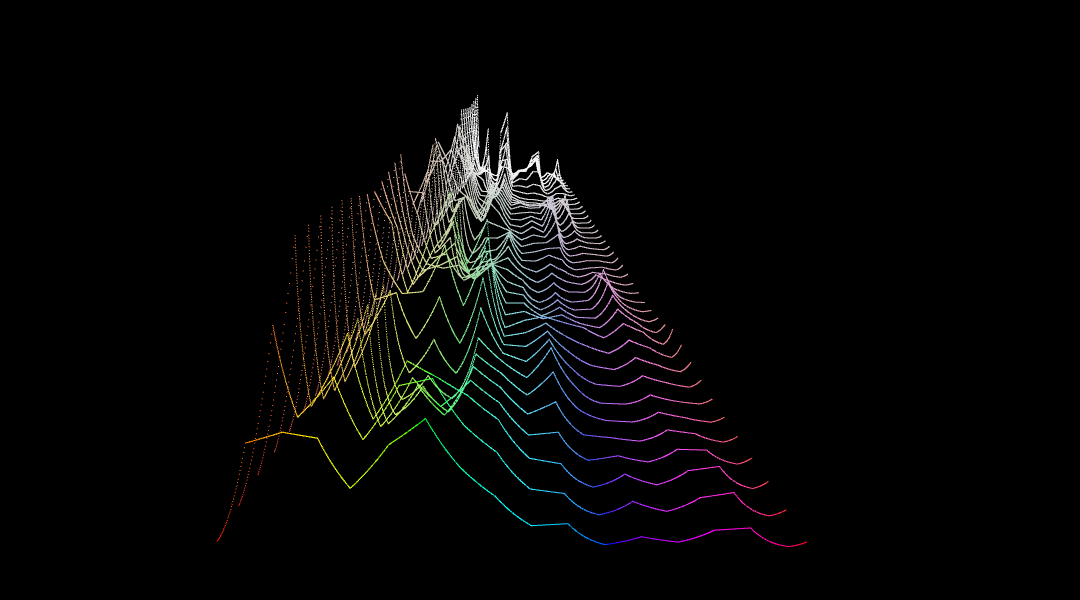
A lot of these seem to have been directly adapted from ShaderToy shaders, just replacing the pixels with vertices, and tuning the behavior a bit. Not many seem to have been completely designed with 3D in mind, and for good reason, as the scenes are always stuck to the flat 2D image anyway.
Where do we go now?
This was pretty much the nail in the coffin for me. Although I was loosing steam as my solutions become more and more sloppy, I was excited to get it at least in working order, and perhaps improve it later on, such as a better FFT, clearing up the code, moving it all to Lua, and more. But when I realized that this would all be for nothing, I lost a lot of momentum.
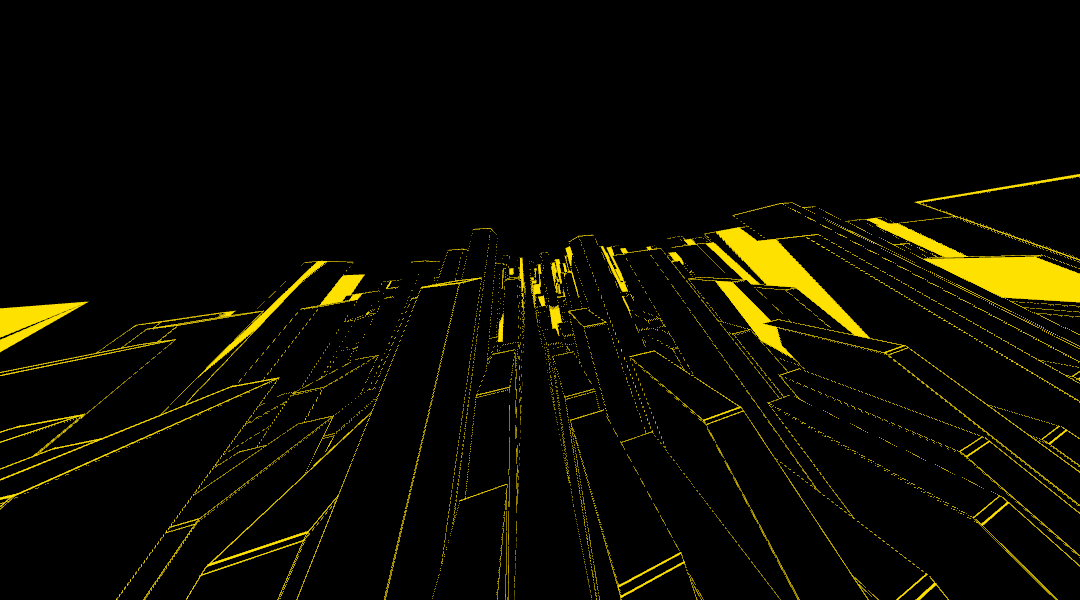
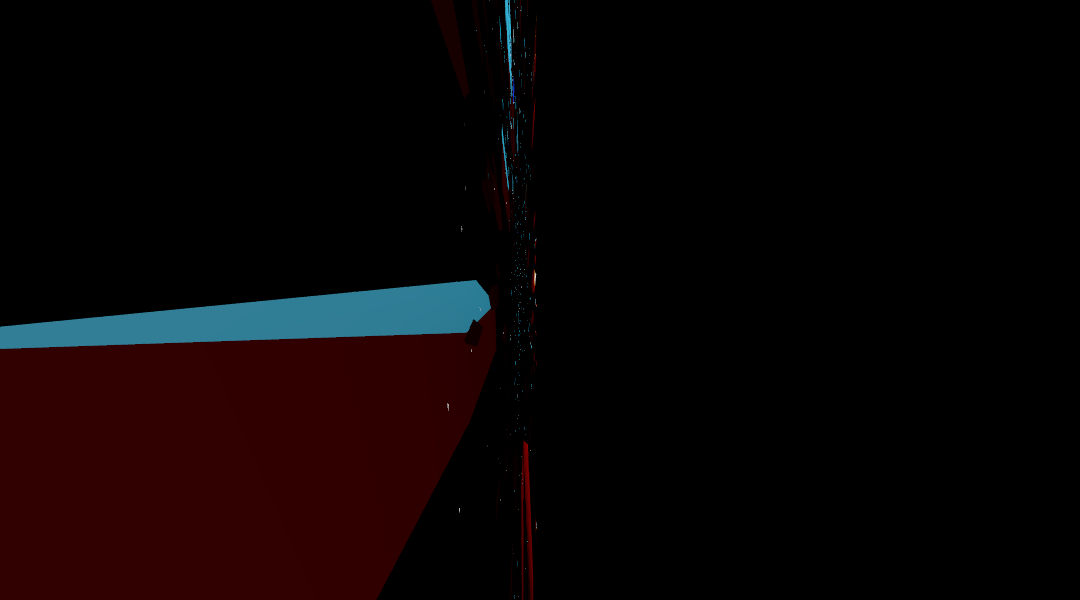
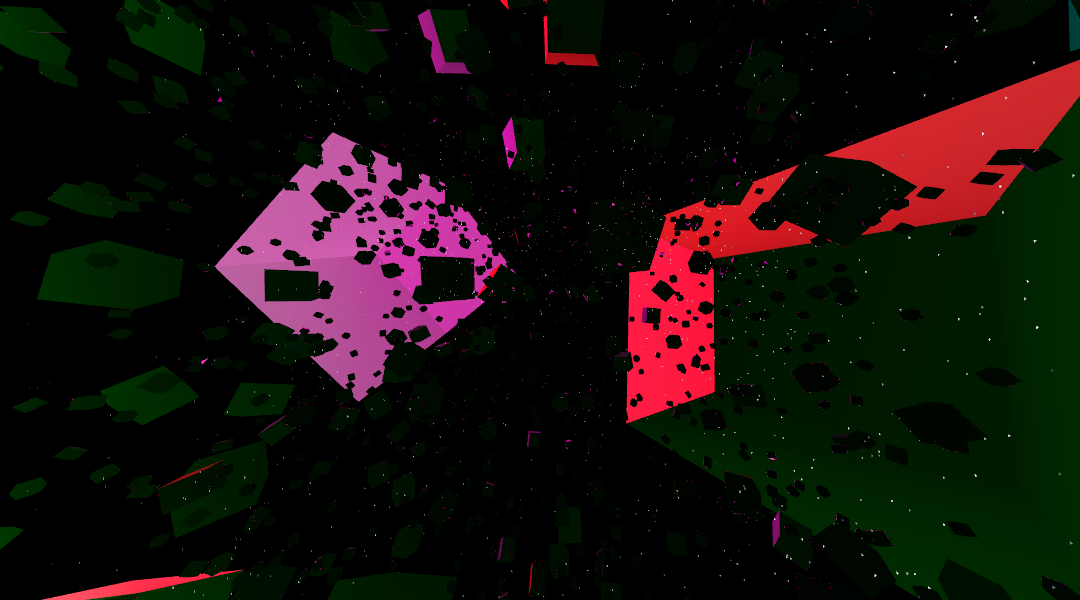
I’ve checked more than a couple of hundreds at this point, and maybe 15 where somewhat vaguely 3D, and most of these were just mathematical shapes and simple demos, not the cooler effects. I’ve also seen a couple Ray Marchers! But it was all again just 2D.
Now, as I write, I do get a different emotion than just the sadness of my dream of psychedelic VR music-based 3D effects fading away. Especially some feel like finding out how the sausage is made, the trick used by the magician, or looking behind the scenes.
There is some beauty in it, although I think I might have preferred to have 2000 different 3D effects to explore instead of a lesson on the value of unfettered curiosity. Oh, well.
I’m a bit dissatisfied with how abysmal the code came out, but I kept operating in prototype mode and wanted to reach some kind of output before committing to a more reasonable architecture and design, and considering what I got perhaps this was the right choice.